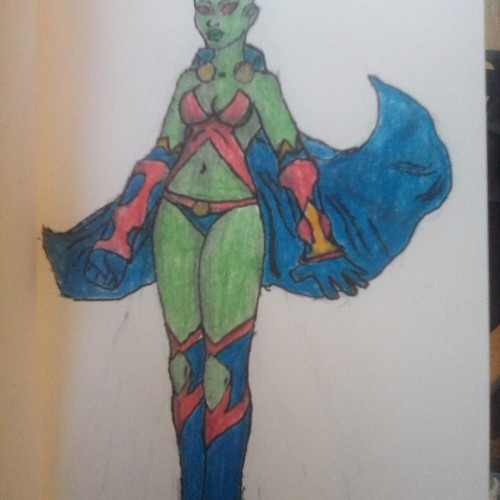
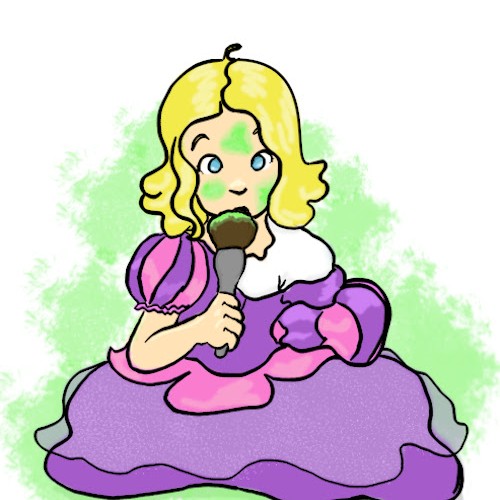
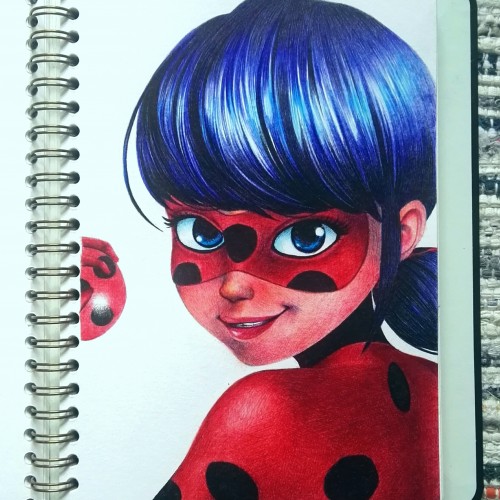
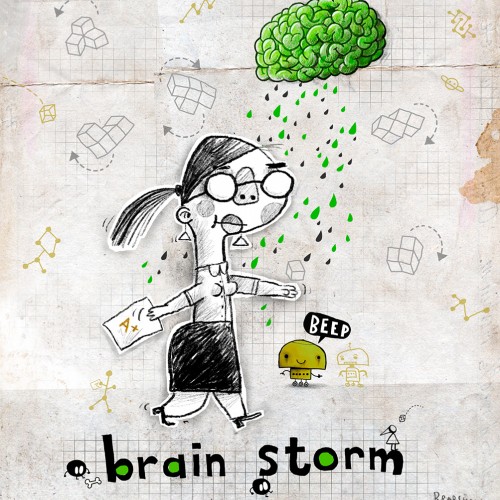
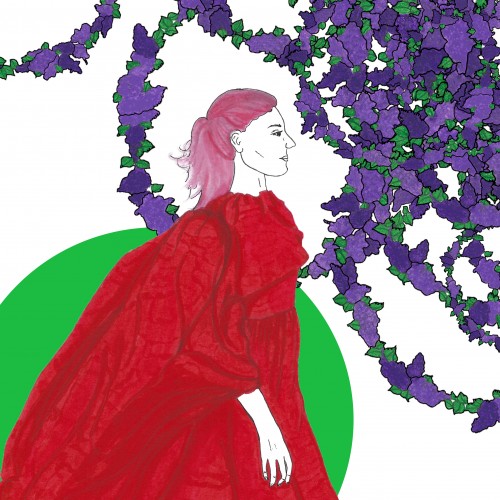
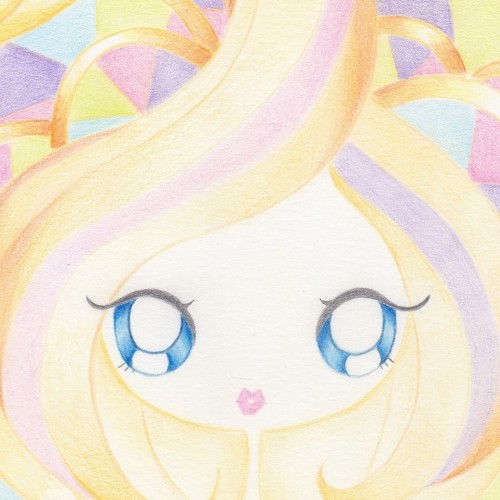
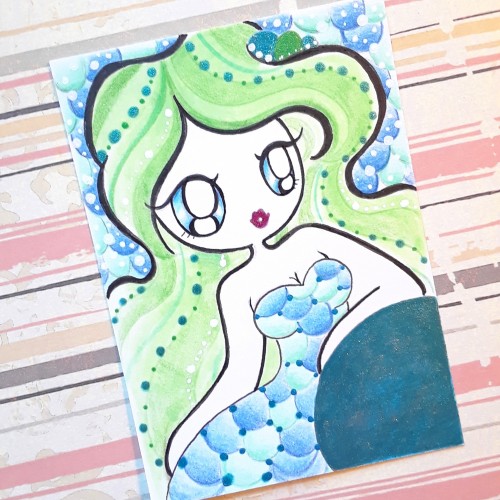
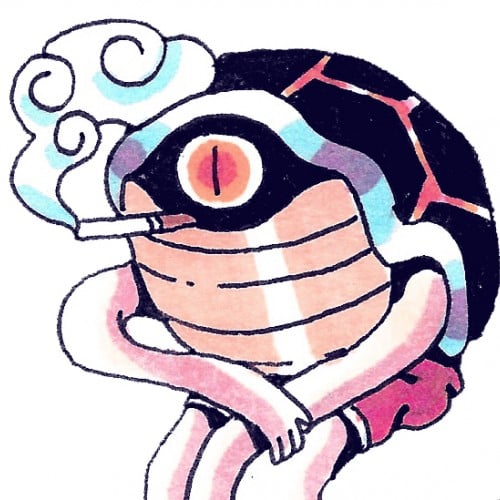
Meet M'gahn M'orz. In this version of her, she is a pure green Martian, the last survivor of Mars. She's from the Ame-comi universe. My own input into it.
Inspired by my niece, after she had gotten into her mother's vibrant, green, eye makeup. Needless to say, we found green glitter all over the house for days after.
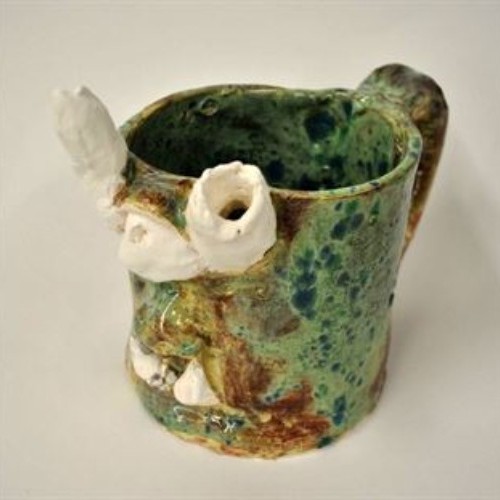
The first stage of clay is slip. Slip is watery clay; it is most often used to "slip and score", which I used to attach the features of the mug to the mug itself.
The second stage of clay is wet. Wet is moist, very plastic clay. Wet is the type of clay I love to use, just because it feels so fresh, and because it is moist enough that I don't have to soften it with water.
The third stage of clay is leather hard. Leather hard is the stage my mug was in after being left on the shelf for twenty-four hours or so. It is easier to cut but very difficult to sculpt.
The fourth stage of clay is greenware. Greenware is completely dry clay that is fragile and breakable. I would say that greenware is an overdose of leather hard for the clay. In other words, leaving clay out for a longer amount of time can turn leather hard clay into greenware.
The fifth stage of clay is bisque. This is the clay after its first firing. If it was grey clay, it is now white in this stage. It is now completely hard and no longer soft in any way. Bisque, luckily, is only one stage away from glaze...
The sixth stage of clay is glaze. This is the final firing and results in a smooth texture and a shiny look. I loved the way my glaze came out. While I was painting the mug, it was more of a ruddy red-brown but when it glazed, it turned out to be this beautiful spotted green.
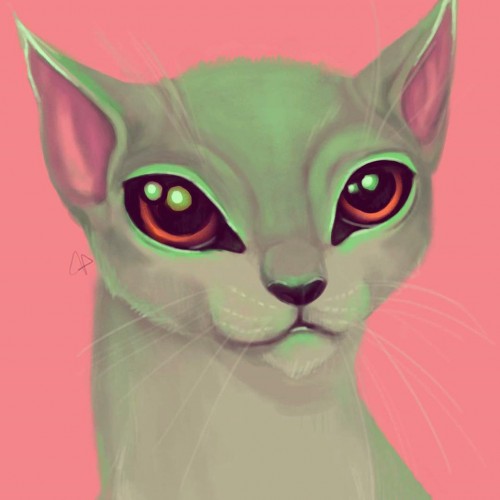
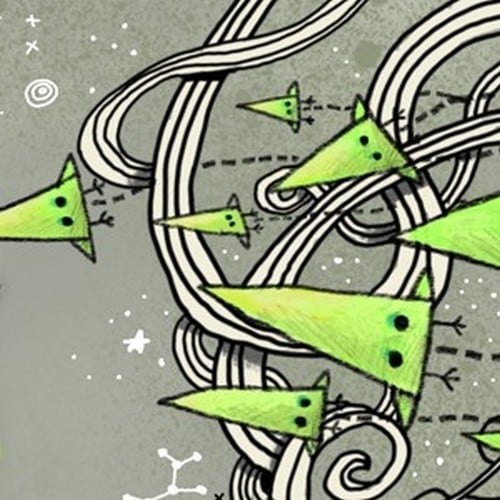
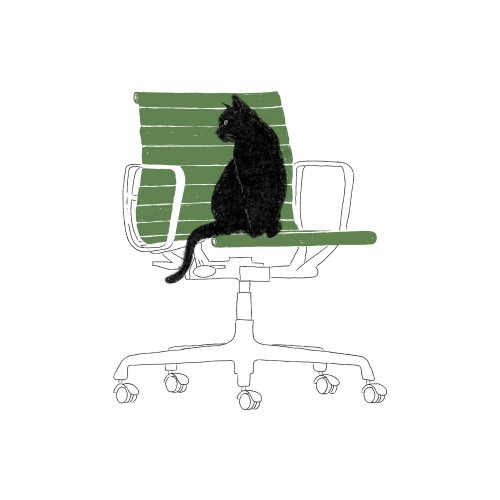
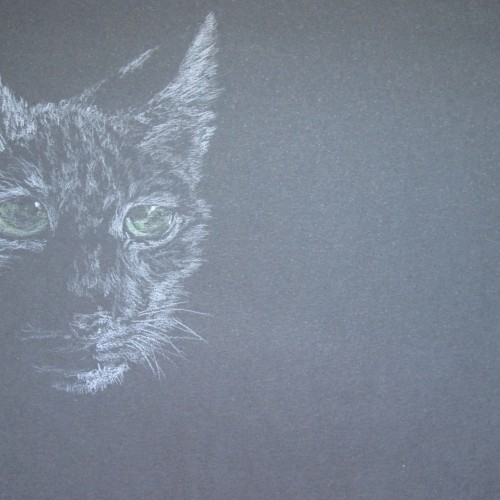
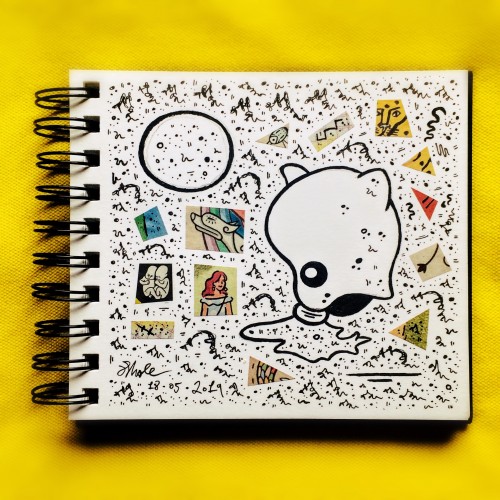
I like to take my iPad out and experiment with no clear aim sometimes. Tonight's doodles led me to this glowing alien catlike creature. Used jingsketch's round render for most of it. If you think this is weird you should have seen the hippo. Enjoy!
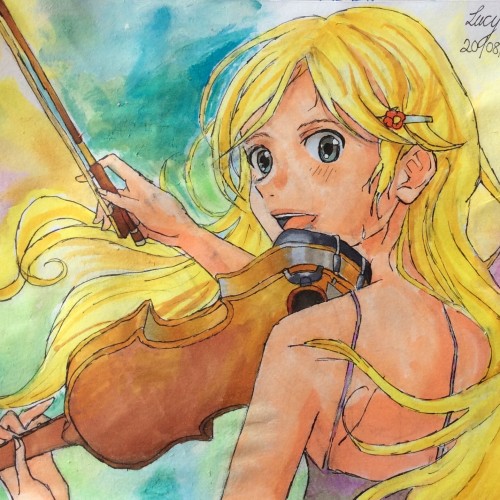
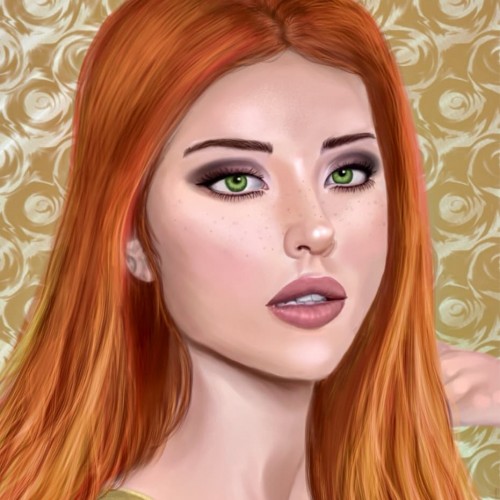
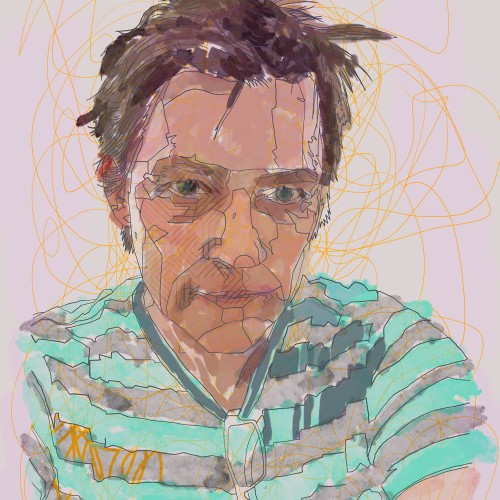
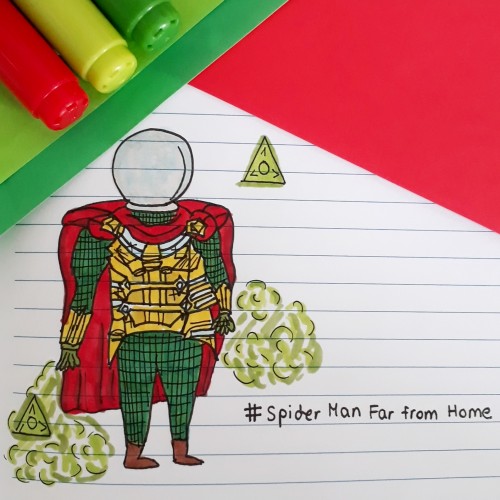
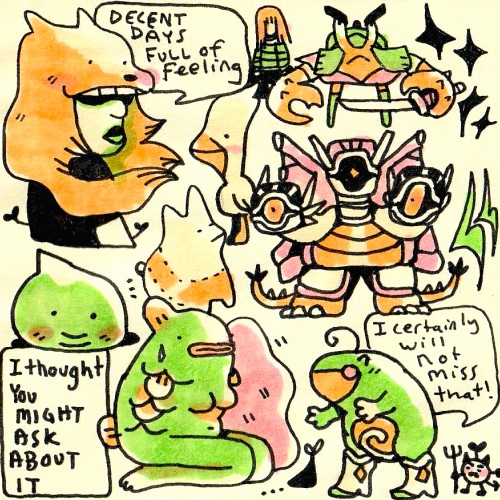
I am a huge fan of this show! The drawing is done with ballpointpens and the skin colour looks a bit strange since I only had a red, blue, black, pink, purple and green pen. Thank you very much for looking at my drawing!!
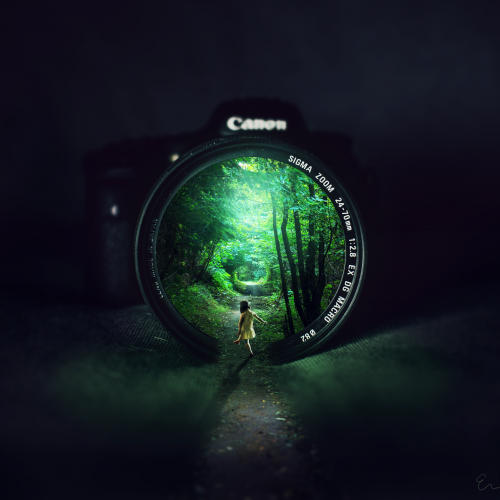
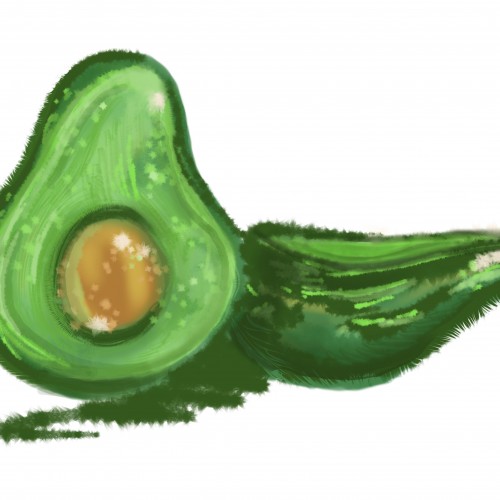
Inspired by the wonderful tutorial by rafy A, you can find it here: https://youtu.be/JM-esQnGIhQ
Camera photo source: https://www.pexels.com/photo/aperture-black-blur-camera-274973/
Forest and child source: Unsplash.com
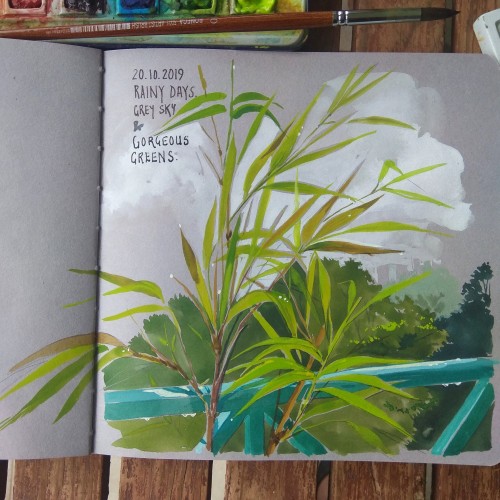
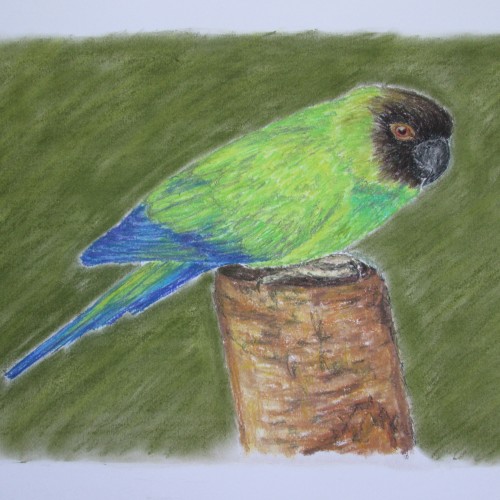
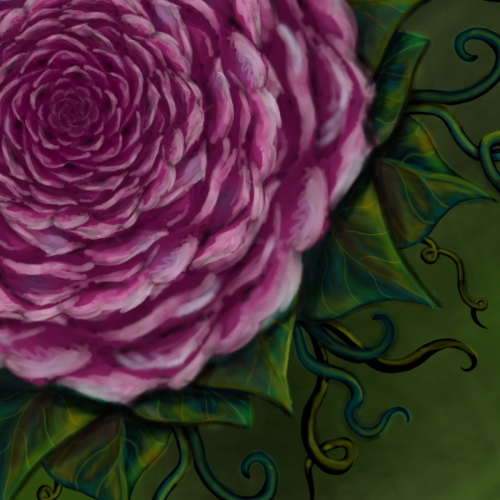
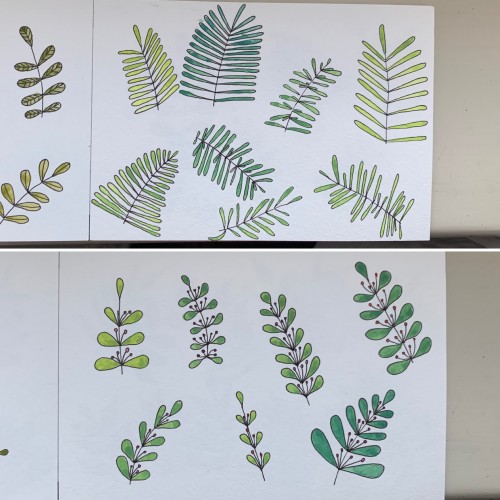
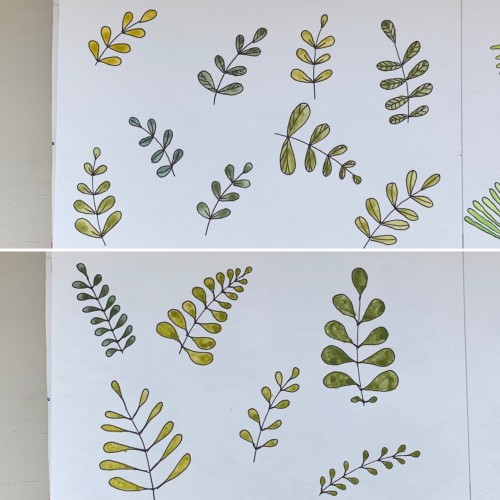
Again, mixing some colors to get greens: 1) cobalt blue (PB 28) plus cadmium lemon (PY 35); 2) ultramarine (PB 28) and cadmium yellow. Didn’t see much difference. In the first case there seem to be more hues, though. Funny, cadmium yellow medium and cadmium lemon have the same label: PY 35
For some reason I tried some floral drawings, of different shapes, and I also used mixtures of different colors to produce hues of green. The first page - it’s a mix of the cobalt blue (PB 28) and cadmium yellow medium (PY 35). On the second one there is ultramarine (PB 29) for the blue color and the same yellow paint. To me, it seems the difference is very little but I’ve got the color closest to the ‘normal’ green using Cobalt rather than ultramarines. The latter gave either to yellowish to olive hues or too blueysh